Before I share my card with you, I would like to share some pictures of a very confused little fellow that we watched in our backyard a couple of weeks ago. He's hard to see in my first picture because he's so small and I did not use the zoom function so the picture gives a better perspective of the scene. Look closely under the red arrow and you may be able to see him.
It's a little chipmunk that appears to have awakened a little early from his hibernation. We still have about 18 inches of snow depth at this time. He came out and started running around like a crazed animal before he settled here to look around. Here's a closer picture of him surveying his surroundings.
You can see his little footsteps where he ran around in manic circles when he first appeared. After sitting for a little bit he ran over to the bird feeding area to grab a bite to eat.
After grabbing some food he ran back to the area where his home is beneath all of the snow.
Look at those fat little cheeks. He sure stuffed his pouches...must be pretty hungry. We have seen him several times since this day.
The Making of My "Giraffe Card"
Card Statistics
- Final Card Size: 5.5" tall x 4.25" wide
- Tools: Martha Stewart scoring board
, Making Memories paper cutter
, blending stumps, ruler, sponge pieces, Studio G giraffe stamp
- Materials: cardstock, animal print paper, cover stock, adhesive, gamsol, Stazon ink
, Colorbox ink
, VersaMagic ink
, Prismacolor pencils
- You can purchase this card in my Polished Moxie Etsy Shop: Giraffe Card
Card Front
I created the base card from deep rust cardstock and layered it with a giraffe print paper and yellowed orange cardstock. The yellowed orange cardstock is my zing of color for this card.
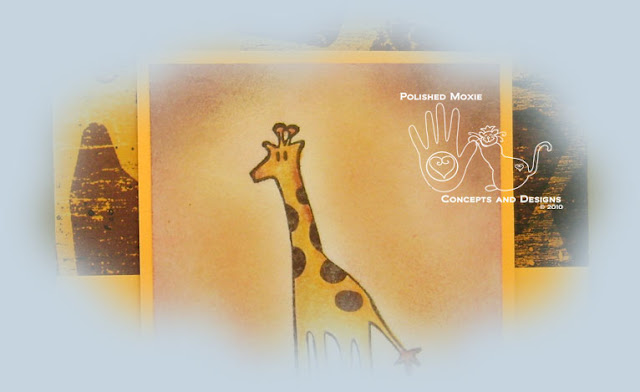
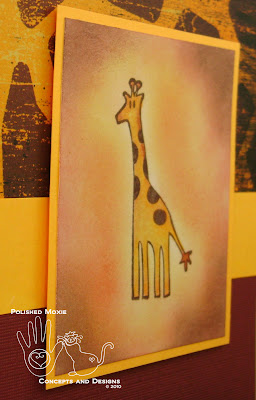
For the focal point of the card I stamped the whimsical giraffe in brown ink on white cardstock and colored it in bold tones using gamsol and colored pencils. I used a darker color along the giraffe's neck to mimic a mane shadow. I sponged a combination of colors around the giraffe reflecting the overall card color scheme. Upon completion I matted this giraffe image with yellowed orange cardstock and popped the image panel from the surface of the card to add dimension to the card.
Angle Views of Card Front to Show Dimension
You can see the dimension added to the face of the card by the popped image panel.
Card Inside
The coordinating envelope I constructed from heavy cover stock and added a decorative strip of the zebra print down the left side.
Final Card and Envelope Combo
I think this card reflects the whimsical aura I wanted to capture.
You can purchase this card in my Polished Moxie Etsy Shop: Giraffe Card
Card Recipe Specifics
- Cardstock: Wausau, DCWV, Hammermill
- Animal Print Paper: Bo Bunny Press
- Cover Stock: Staples
- Giraffe Stamp: Studio G
- Inks: Stazon timber brown
, VersaMagic jumbo java
, Colorbox petal points
- Prismacolor Pencils
: yellowed orange, burnt ochre, beige, goldenrod
- Tools: Martha Stewart scoring board
, Making Memories paper cutter
, blending stumps, sponge pieces, ruler
- Misc: gamsol, adhesive, silicone
Thank you for visiting my blog and I hope you come back soon!
Page Content © 2011 Polished Moxie Concepts and Designs


What an adorable chipmunk and giraffe card!
ReplyDelete