 |
| Peek at My Handmade Wedding Anniversary Card |
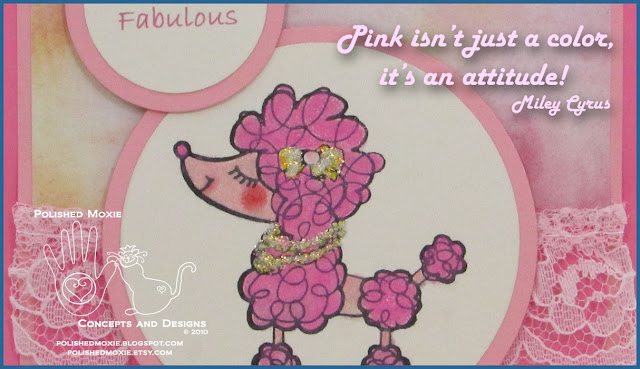
One type of card I have not created in the past is a handmade card specific for a wedding anniversary. I've made cards about love and romance like my tattoo art card, my various teddy bear cards, my Moxie cards, and my valentine cards. However, I've never made cards specifically for anniversaries and I thought it was about time I gave it a whirl. With that said, I decided to use the same design that I developed for my pink poodle fabulous card. Change the image and the color scheme and I have a handmade anniversary card.
Now, I wanted my wedding anniversary card to be suitable for any wedding anniversary, but I also wanted it to have a silver anniversary flavor to it. That's where my handmade card's color scheme came into play. I used pastels, cream and a silvery grey that reflected a silver anniversary flair to me. I added a little lace and glitz to my card to give it panache.
The World Around Me
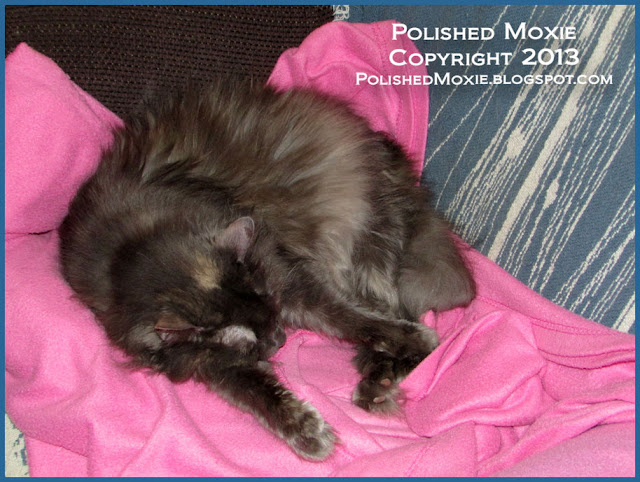
Anniversaries are a time to spoil that special someone and to celebrate the wonder of love. Here is how my two mousers celebrate.
 |
| My Two Spoiled Cats - Bingo and Gracie |
Bingo and Gracie are such spoiled cats and spend a lot of time here on their "throne." It's not uncommon for me to be working on the computer and hear soft snoring behind me.
As you can tell, Gracie is the queen and often times tries to convince Bingo that he should find another place to perch. On this particular day she stretched out and left Bingo just enough room to look out the window without touching her. Gracie seems to think that just sharing space with him demonstrates her love.
 |
| My Cat Bingo on the Edge of His Seat |
You can't get much closer to the edge than Bingo is without falling off!
 |
| Queen of the House - My Cat Gracie |
I guess Bingo is lucky that Gracie's foot is sticking off the file cabinet so that there was enough room left for him.
 |
| Life is Good for My Cat Gracie |
This is what I call spoiled contentment!
My Love of Papercrafting Challenges
I follow many challenge blogs and my handmade wedding anniversary card reflects the following challenges.
- Cupcake Craft Challenge: Sparkle - I have sparkle on my flowers.
- A Muse Studio Challenge: Use a technique that you find grungy or messy - I used blending for the edge of my image and sentiment panels (always get ink all over my fingers and my craft mat).
- A and T Emerald Faeries Challenge: Bling - I have sparkle on my flowers and pearls.
- Craft Your Passion Challenge: Add an odd number of embellishments - I have 11 embellishments (8 mini flowers, 2 pearls, and a piece of lace).
- Papertake Weekly Challenge: Anything goes.
- Through the Craftroom Door Challenge: Anything goes.
- Party Time Tuesdays Challenge: Die cuts - All the circles of my card are die cut.
- Loves Rubberstamps Challenge: Anything goes.
- Stampin' For the Weekend Challenge: Use lace.
- Paper Playtime Challenge: Anything goes.
- Challenges 4 Everybody: Anything goes.
- Corrosive Challenge: Use sparkle or glitter - I have sparkle on my flowers.
- The Crafty Bloggers Network Challenge: Spring or pastel - I used pastel colors.
- 4 Crafty Chicks Challenge: Die for dies - All the circles of my card are die cut.
- Delightful Challenge: Buttons, bling and embellishment things - I used bling embellished flowers, pearls, and lace.
- Totally Papercrafts Challenge: Use dies and/or punches - I used circle dies and an edge punch.
Handcrafting My Handmade Wedding Anniversary Card
Card Statistics
- Final Card Size: 5.5" tall x 4.25" wide
- Tools: circle dies, scallop edge punch, mini flower punch, cake stamp, scoring board, blender tool, blending stumps, paper cutter, scissors, ruler, computer, Cuttlebug machine, non stick craft mat, tape runner
- Materials: cardstocks, designer paper, cover stock, adhesives, silicon adhesive, gamsol, colored pencils, inks, stickles, lace, pearls
- Card can be Purchased in My Polished Moxie Etsy Shop: Handmade Wedding Anniversary Card
Front Panel of My Handmade Wedding Anniversary Card
 |
| Angle Right - My Handmade Wedding Anniversary Card |
To create my wedding anniversary card I started by constructing my card base from silver grey cardstock (11" x 4.25"). I scored the cardstock at 5.5" so that my handmade card opens vertically from the bottom to form a tent card.
Next I built my topper panel. I used peach cardstock for the base of the panel (5.25" x 4"). For the top portion of the panel I affixed a piece of peach pastel tie dyed designer paper (3.75" x 3"). On the lower portion of the card panel I affixed a piece of silver grey cardstock that I border punched the lower edge with scallops (3.75" x 2.5" prior to edge punching).
At the interface of the designer paper and grey cardstock I attached a piece of cream lace (5"). I wrapped the ends of the lace around the edges of the panel and secured them on the back. I attached this portion of my topper to my card base using my tape runner.
For the focal point of the card I stamped my cake image on cream cardstock and colored it using gamsol and colored pencils. I colored it in such a way to give it a velvety textured look. After I colored my cake I die cut it out (2.5" circle) and used my blending tool to apply peach ink around the edges. I matted my image with peach cardstock (2.75" circle) that I die cut. To add a little pizzazz to my cake I decorated it with several miniature flowers that I punched from silvery grey cardstock and added a drop of stickles to each of their centers.
Once my cake image was completed I constructed my front sentiment. I printed "Happy Anniversary" on cream cardstock in silvery grey ink using my computer. I die cut my sentiment (1.25" circle) and applied peach ink around the edges. I matted my sentiment with peach cardstock (1.5" circle) that I die cut. I positioned my image panel and sentiment panel on my card front and attached them using silicon adhesive so that both panels are popped from the surface of the card.
 |
| Image Panel - My Handmade Wedding Anniversary Card |
I like the velvety texture I achieved for my cake using the colored pencils.
To finish off the front of my wedding anniversary card I affixed two ivory pearls at its lower scalloped edge.
 |
| Angle Left - My Handmade Wedding Anniversary Card |
You can see all of the dimension my wedding anniversary card has from the different elements on it. The one thing that is difficult to see is the sparkle on the centers of the flowers. You can see the sparkle better on the close up picture of my cake image, but they really shimmer in the light as you move the card.
Inside Panel of My Handmade Wedding Anniversary Card
 |
| Inside Panel - My Handmade Wedding Anniversary Card |
I kept the inside of my anniversary card very simple. I constructed a panel from cream cardstock (5" x 3.75") and matted it with peach cardstock (5.25" x 4"). For a little decoration I affixed a strip of the peach designer paper (3.75" x 0.5"). I attached my completed inside panel to my silvery grey card base using my tape runner.
I used heavy cover stock (8.5" x 8.5") to construct my handmade envelope and decorated it with a strip of the peach designer paper down its left edge.
Final Handmade Wedding Anniversary Card and Handmade Envelope Set
 |
| My Handmade Wedding Anniversary Card and Envelope Set |
So this is the same design as my pink poodle card, but has a very different feel to it because of the different image and color scheme.
This card set is available in my Polished Moxie Etsy Shop: Handmade Wedding Anniversary Card.
Card Recipe Specifics for My Handmade Wedding Anniversary Card
- Cardstock: Hammermill, Wausau
- Designer Paper: Unknown
- Cover Stock: Staples
- Cake Stamp: Studio 12
- Lace: Weintraubs
- Pearls: Studio 112
- Stickles: Diamond
- Dies: Spellbinders Nestabilities standard circles large and small
- Punches: Martha Stewart double scallop edger, Dollar Store mini flower
- Inks: Stazon jet black, Versamagic pink grapefruit
- Prismacolor Pencils: putty beige, peach, goldenrod
- Tools: blending stumps, computer, scoring board, paper cutter, scissors, ruler, Cuttlebug machine, non stick craft mat, blender tool, tape runner
- Misc Materials: adhesives, gamsol
- Techniques Used: gamsol, die cutting and punches, blending
So ends another jaunt along my handcrafting card journey with my handmade wedding anniversary card. A unique card for that wonderful couple celebrating a very special day. Thank you for visiting my blog and allowing me to share my handmade card and photography with you. I hope you enjoyed your visit and will come back soon!
Don't forget to show a little "Moxie" love and hit the Polished Moxie like button on my sidebar or to the right of the Polished Moxie logo below :)
Don't forget to show a little "Moxie" love and hit the Polished Moxie like button on my sidebar or to the right of the Polished Moxie logo below :)
Page Content © 2013 Polished Moxie Concepts and Designs


